



Aquariums are magical places where the mysteries of the underwater world come to life before our eyes. The vibrant colors, graceful movements, and unique behaviors of aquatic creatures make for captivating subjects for photography. However, photographing in an aquarium can be challenging due to low light, reflections, and the need to capture fast-moving subjects. With the right techniques and a few essential tips, you can elevate your aquarium photography to new heights. In this comprehensive guide, we will explore nine tips to help you capture breathtaking aquarium images.
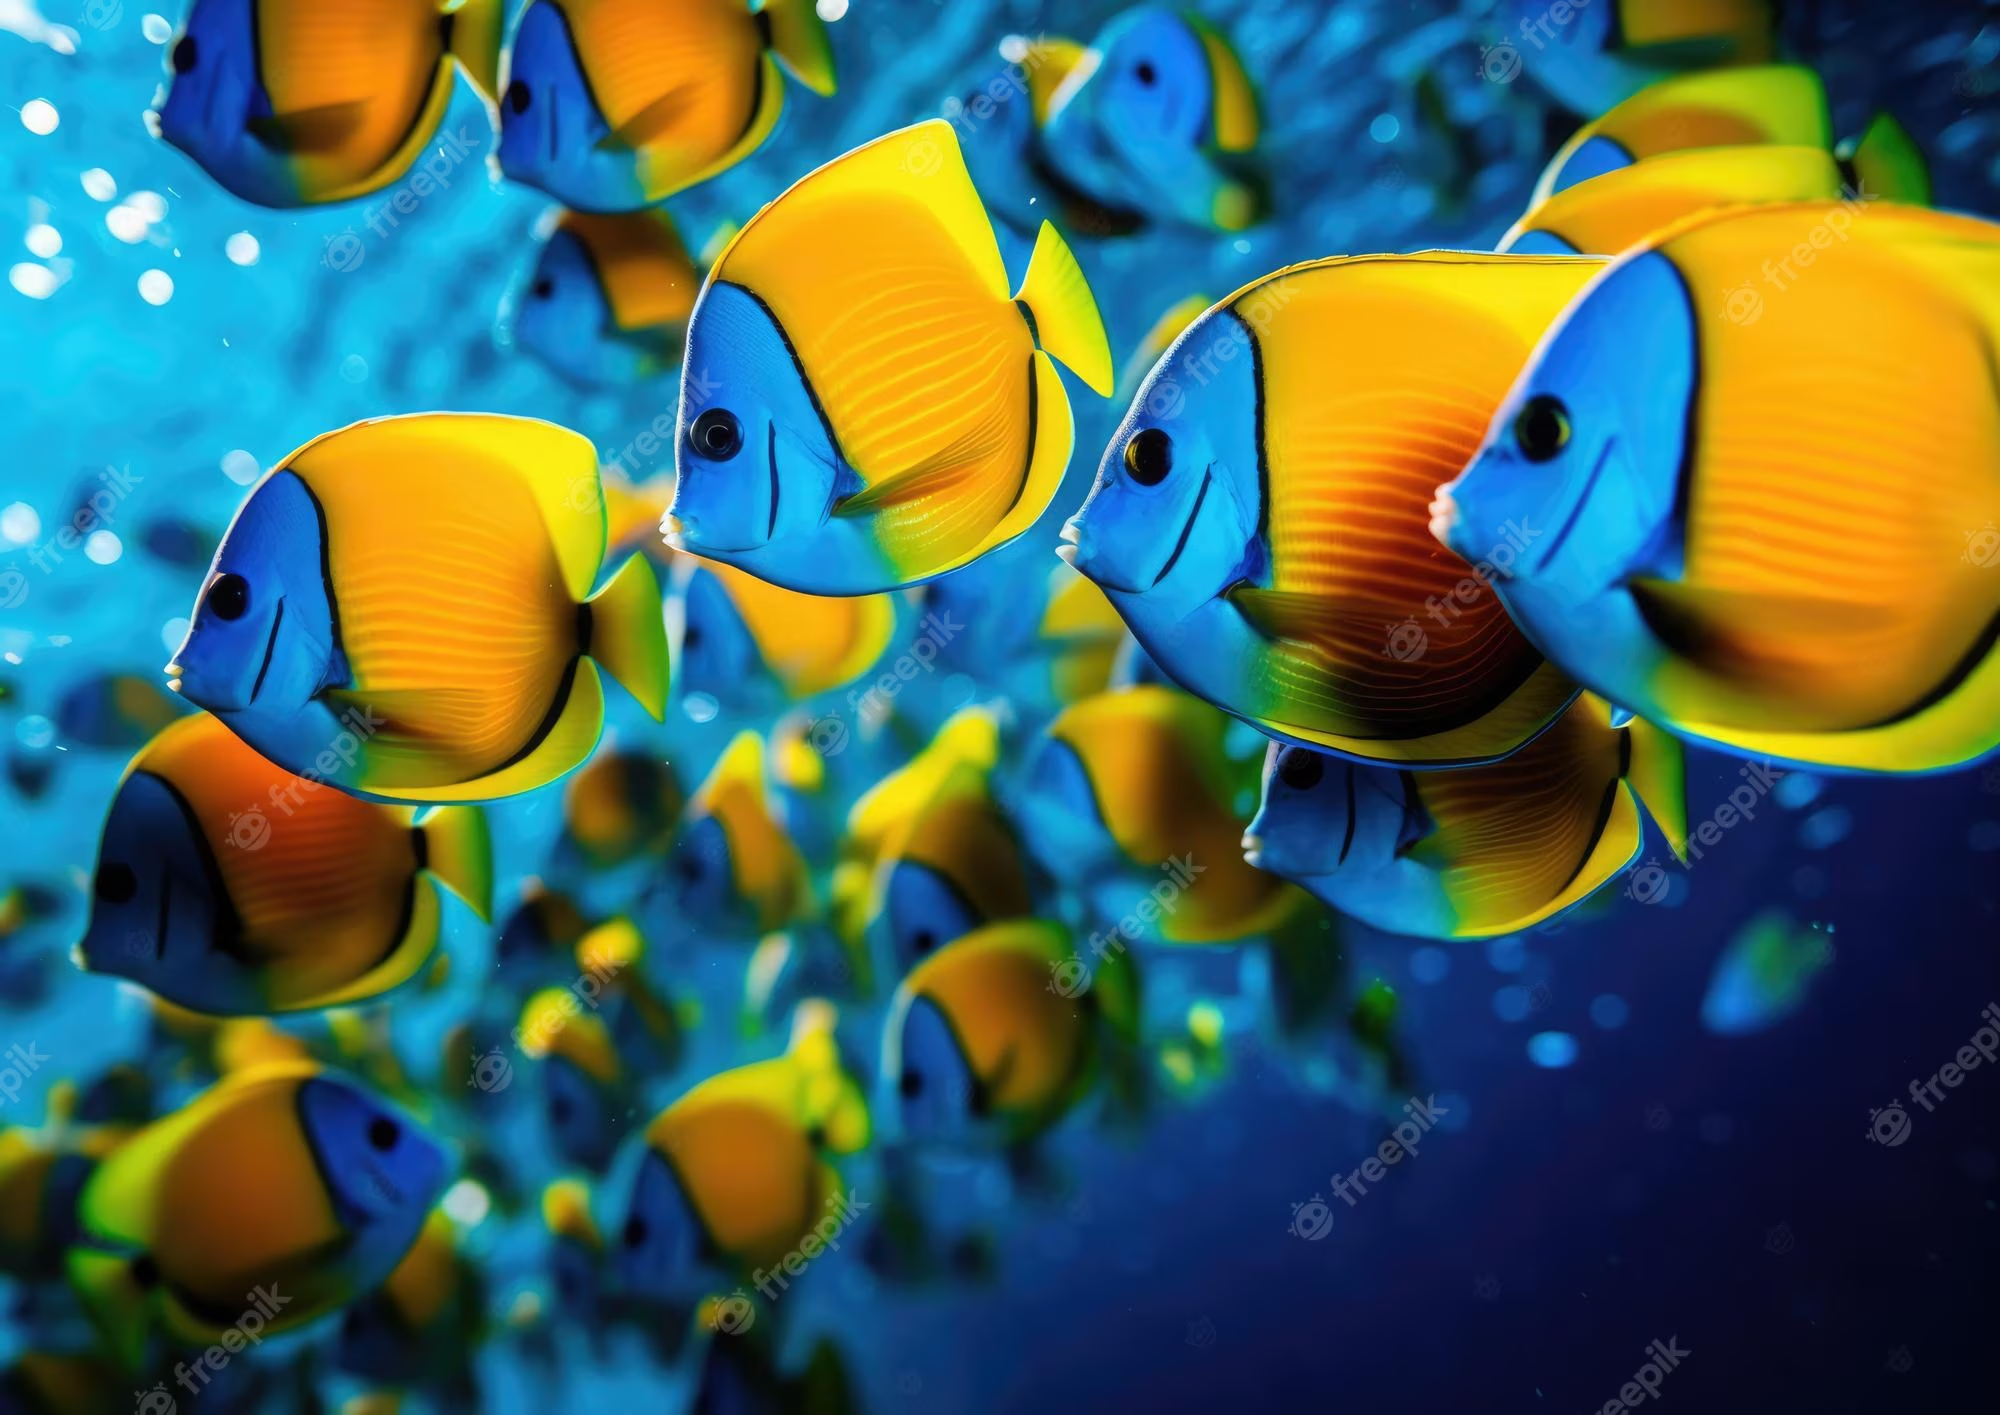
1. Disable Your Flash and Approach Closely
By default, many cameras activate the flash in dimly lit environments. However, in the dark confines of an aquarium, using flash is a big no-no, as it can create distracting reflections on the glass and ruin your photos.
Therefore, before you even set foot in the aquarium, be sure to disable your camera’s flash function.
Even with the flash turned off, you may still encounter ambient light reflecting off the glass, which can detract from the sharpness of your subjects and disrupt the viewer’s experience. To mitigate these reflections, consider moving right up to the glass. You can even gently press your lens hood against the glass’s surface to minimize any glare. Keep in mind that following this advice will position you directly at the glass, looking through it, rather than standing several feet away from it.
2. Stabilize Your Handheld Camera for Steady Shots
In the realm of aquarium photography, where low-light conditions are the norm, you’ll often find yourself working with slower shutter speeds to capture the beauty of underwater life. However, this can lead to a common challenge: camera shake resulting in blurry images. While a tripod or monopod is an ideal solution when aquarium rules permit their use, there are strategies to stabilize your handheld camera effectively.
First and foremost, take advantage of any built-in stabilization features your camera or lens may offer. These technological advancements can significantly mitigate the impact of minor movements and vibrations. In cases where your camera lacks this feature, pay careful attention to your posture and grip. Holding the camera with both hands and keeping your elbows close to your body can provide added stability.
Another valuable technique is to seek support within the environment. Leaning against a wall or resting your camera on a solid surface can greatly enhance stability. It’s essential to note that practice and adaptability are key factors in finding the most effective approach for different situations. Each aquarium presents its own unique challenges, and mastering the art of handheld shooting can open up exciting opportunities in the captivating world of underwater photography.
3. Embrace Manual Focus for Precision
When it comes to achieving the perfect focus in the challenging environment of aquarium photography, especially when dealing with viewing glass that can perplex your camera’s autofocus system, manual focus becomes a valuable ally. Unlike autofocus, which can frequently mistakenly target reflections or smudges on the glass, manual focus empowers you to take control, allowing you to precisely determine which part of the scene should be sharp.
If you’re new to manual focus, it might initially appear daunting. Start by practicing on larger, more stationary subjects within the aquarium. Many modern cameras offer helpful features such as focus peaking, which highlights the areas in focus on your screen, guiding your adjustments. These aids can be remarkably effective as you acquaint yourself with manual focus.
It’s essential to recognize that mastering manual focus is a skill that requires time and patience to develop. However, once you’ve honed this skill, the creative control it affords can be exceptionally rewarding. Whether you’re aiming to capture the intricate details of coral or track the swift movements of a shark, manual focus empowers you to dictate what takes precedence in the scene, ensuring that your photos materialize exactly as you envisioned them.
4. Enhance Creativity Through Diverse Camera Angles
Once you’ve mastered the art of achieving sharp aquarium photos, it’s time to infuse creativity into your shots, and one of the most effective techniques to achieve this is by varying your camera angles.
Rather than capturing every fish head-on, explore a multitude of perspectives to add depth and intrigue to your images. Keep in mind that the same aquatic creature can appear dramatically different when photographed from various angles.
Here are some angles to consider:
- Low Angle: Position yourself beneath your subject and aim your camera upward. This angle can emphasize the subject’s size and presence, creating a powerful and dynamic effect.
- High Angle: Get above your subject and shoot downward. You can achieve this perspective by looking for clear glass walkways or elevated platforms. It provides a unique vantage point and offers a fresh view of the underwater world.
- Eye-Level Angle: Crouch down to align your camera with your subject’s eye level. This perspective can establish a sense of intimacy with your subject and capture their natural behavior.
- Diagonal Perspective: Move to the right or left to capture your subject diagonally. This angle can introduce dynamism and a sense of movement to your photographs.
Take, for example, the following shots:
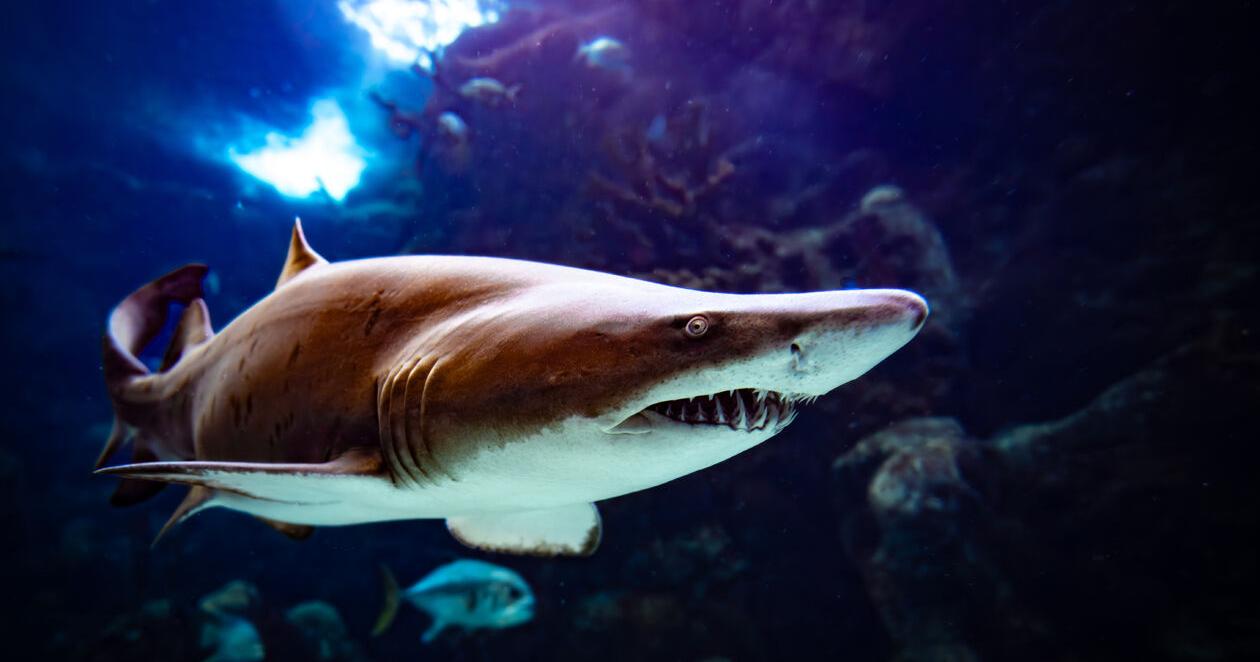
- To highlight the menacing appearance of a shark and its teeth, I used a low angle:For the eel photo, I employed an eye-level angle to capture its beauty;
- To create an intimate ambiance in the lobster photo, I favored an eye-level angle;
- When a shark approached the glass, I opted for a low perspective to add drama;
- Finally, an ultra-low angle, also known as a worm’s-eye view or bug’s-eye view, was utilized for the last image, providing the sensation of being immersed in the water with the sharks.
Experimenting with various camera angles can breathe life into your aquarium photography, allowing you to convey different emotions and perspectives within the aquatic realm.
5. Embrace Stunning Silhouettes
Capturing captivating silhouettes is an excellent technique for enhancing your aquarium photography, and the best part is that it’s relatively straightforward to achieve in aquariums due to their unique lighting conditions.
The essence of a silhouette shot lies in photographing a dark subject in the foreground against a bright, well-lit background. You can often achieve this effect by simply adjusting your camera’s angle to include the bright background light, then patiently waiting for a subject to swim into the frame. Once the subject is in position, take a shot, and review the image on your camera’s LCD screen. If the image appears too bright and lacks the desired silhouette effect, consider increasing your shutter speed or applying negative exposure compensation until the subject transforms into a perfect silhouette.
Additionally, you can capture stunning silhouettes of individuals standing by the aquarium glass. Children, in particular, are often enchanted by sea creatures, and parents can be equally captivated by their children’s wonder. The following silhouette shot occurred naturally because the aquarium tank’s brightness contrasted with the people in the foreground:
Depending on your camera’s settings, you may achieve a similar result, or you might need to make the exposure adjustments discussed earlier. It’s worth noting that when shooting towards glass from a distance, some ambient light reflections may be present. If these reflections are distracting, you can always remove them during post-processing to achieve the desired effect.
6. Pay Attention to Light Direction
Aquariums are often illuminated with a variety of intriguing lighting angles, making it essential to keenly observe the direction of light within the water.
Lighting direction can be a powerful tool in your aquarium photography arsenal. Here are some tips to consider:
- Backlighting: As discussed earlier, backlighting can be used to create captivating silhouettes. However, you can also employ it to brighten up your images for an intriguing overexposure effect. Experiment by adjusting your shutter speed or increasing exposure compensation to achieve this effect.
- Side Lighting: Seek out instances of side lighting, as it can infuse your photos with a sense of drama and three-dimensionality. Side light creates dynamic shadows and highlights, enhancing the textures and contours of your subjects.
Don’t hesitate to experiment with different lighting angles, and when uncertain, capture more photos rather than fewer. In situations where you’re dealing with a mixture of bright light and dark shadows, achieving the perfect exposure can be challenging. Be prepared to make adjustments as needed and frequently review your camera’s LCD to ensure you’re on the right track. Photography in aquariums offers a unique opportunity to play with light and shadow, so embrace the creative possibilities it presents.
7. Elevate Your Images with Post-Processing
While it’s crucial to capture the best possible images during your visit to the aquarium, the post-processing stage can offer an opportunity to take your files to the next level.
Post-processing doesn’t necessarily involve creating unrealistic or exaggerated results. Instead, it’s about enhancing and recreating the scene as it was, preserving the emotions and ambiance of the moment. The specific adjustments you make are a matter of personal preference, but here are some aspects to consider:
- White Balance: Adjust the white balance to correct any unwanted color casts in your photos. This helps ensure that the colors in your images appear true to life.
- Exposure: Fine-tune the exposure to maintain detail in both highlights and shadows. This adjustment ensures that no critical elements are lost in overexposed or underexposed areas.
- Contrast: Adding contrast can give your images a bit of extra punch, making them visually appealing and vibrant.
- Clarity: Enhance clarity to add crispness and definition to your photos. This can bring out intricate details and textures, particularly in the underwater world.
- Saturation or Vibrance: Adjust the saturation or vibrance to accurately represent the vivid colors of the aquarium. This step can help bring the lush aquatic hues to life in your images.
Remember that post-processing is a creative endeavor, and the choices you make should align with your artistic vision. Whether you prefer to keep your photos looking as natural as possible or want to emphasize certain aspects to convey the mood of the moment, post-processing allows you to fine-tune your images and transform them into stunning aquarium photographs.
8. Be Mindful of Your Environment
Aquariums are dynamic places teeming with enthusiastic visitors of all ages. While this lively atmosphere adds to the excitement, it also places a responsibility on photographers to be considerate of their surroundings. Here’s how to navigate your environment effectively:
- Consider Others: As a photographer, it’s essential to be aware of your fellow visitors. Be considerate and avoid obstructing the views of others. Pay attention to your surroundings and refrain from accidentally bumping into fellow visitors.
- Secure Your Equipment: Safeguard your camera equipment by using straps to keep it secure. This prevents accidental drops and ensures the safety of both your gear and the aquarium’s exhibits.
- Avoid Obstructing Pathways: Be mindful of pathways and exhibit areas. Ensure that your presence does not obstruct walkways or access to exhibits.
- Explore Unconventional Angles: While the main exhibits are captivating, don’t hesitate to explore different viewpoints. Venture into less-visited tanks or corners of the aquarium to discover hidden gems and unique photo opportunities away from the crowds.
- Capture Human Interaction: One fascinating aspect of aquarium photography is documenting human interaction with the exhibits. Observe how children are captivated by giant fish tanks, or how couples find tranquility in watching jellyfish. Candid shots of these moments can add a compelling layer of storytelling to your photography, conveying emotions and the human connection to the aquatic world.
- Respect Aquarium Rules: It’s vital to understand and adhere to the rules and guidelines of the aquarium. This includes respecting restrictions on tripods and flash photography. By complying with the aquarium’s policies, you contribute to a pleasant experience for all visitors and maintain a positive relationship between the photography community and these remarkable venues.
Photography in aquariums offers a blend of natural beauty and human interaction, and being considerate of your environment ensures that you can capture both the wonders of the underwater world and the shared experiences of fellow visitors.
Final Thoughts on Aquarium Photography Tips
There you have it—my top tips for elevating your aquarium photography! Always keep in mind the importance of adjusting your settings and approach to capture sharp, well-exposed photos. Then, delve into creativity by experimenting with different angles, exploring lighting effects, and more.
A final piece of advice: Resist the urge to rush through the aquarium trying to photograph everything in one go. Instead, take your time with each subject, even if it means returning on another day to complete your photoshoot. In the world of aquarium photography, patience is often the key to truly rewarding results. So, savor the process, immerse yourself in the aquatic wonder, and let your passion for photography shine through in every shot.