

Did you know that the average person possesses approximately 100,000 hair follicles on their scalp? While this fact may not directly pertain to enhancing your hair color in a photograph, it underscores the intricacy of the task.
Fortunately, armed with the right tools and techniques, you can achieve stunning results with relative ease. In this comprehensive guide, we will delve into the process of editing and altering your hair color in a photograph using a variety of methods. We will also address common questions like “How can I change my hair color in a picture?” and “Is there an app that can demonstrate different hair colors on me?”
A Step-by-Step Guide to Changing Hair Color in a Photo
1. Choose Your Editing Tool
The first step in the process of altering your hair color in a photograph is to select a suitable editing tool. There are numerous options available, ranging from professional software like Adobe Photoshop to user-friendly apps and websites that offer quick and easy photo retouching solutions.
Some popular choices include:
- Adobe Photoshop
- GIMP
- Pixlr
- Photopea
- Canva
- FaceApp
Consider your skill level, budget, and desired level of control when choosing your editing software or app. Some programs require a subscription, while others can be used for free online.
2. Open Your Picture in the Editor
Once you’ve selected your editing tool, open your picture within the chosen software or app. Ensure you’re working with a high-resolution version of your image for the best results.
3. Select the Hair Area
To effectively change the hair color, you must isolate the hair area from the rest of the image. Most editing tools provide a selection tool that allows you to outline the hair. If you’re using a more advanced tool like Photoshop, you can take advantage of the quick selection tool or magic wand tool to simplify this process.
4. Apply the New Hair Color
After isolating the hair, experiment with different colors by applying a color overlay or using the hue/saturation adjustment tool. If you’re using a simpler app or website for image touch-up, there may be preset hair colors to choose from, or you can customize the color using sliders or color pickers.
When changing the hair color, ensure you adjust the brightness, contrast, and saturation levels to achieve a natural appearance. It’s also crucial to consider the lighting in the original image when applying the new color.
5. Fine-Tune Your Edit
After applying the desired hair color, fine-tune the edit by making any necessary adjustments to color, brightness, contrast, or saturation. If you’re using a more advanced editor, you can also utilize layer masks and blending modes to achieve a more seamless and realistic outcome.
6. Save and Share Your Creation
Once you’re satisfied with the result, save your image in a high-quality format, such as JPEG or PNG. Don’t forget to share your new look with friends and family on social media!
Answering Your Questions
How can I alter my hair color in an image?
To change your hair color in an image, follow the steps outlined above. You’ll need to choose an editing tool, open your picture, select the hair area, apply the new color, fine-tune your edit, and save your creation.
Is there an app that can show me what I look like with different color hair?
Yes, there are several apps and websites that can help you visualize yourself with different hair colors. Some popular options include FaceApp, Hair Color Booth, and ModiFace. These apps offer a range of hair color choices and are user-friendly, making it easy to try out various looks.
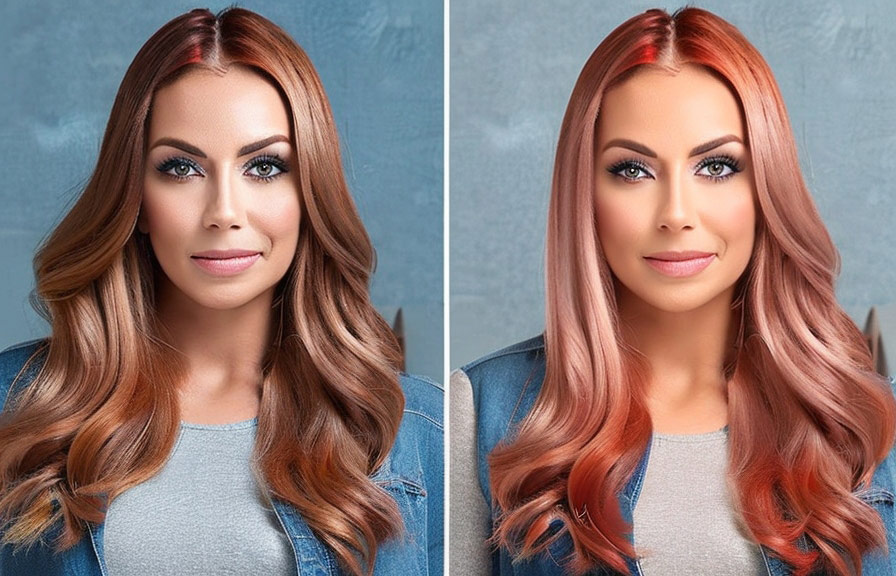
The Bottom Line
Changing your hair color in a photo is an excellent way to experiment with new looks without committing to a real-life hair transformation. By following the steps outlined in this guide and using the right editing tools, you can easily achieve a realistic and stunning result.

